Planting Bare Root Trees
By Mark Nathanson
“The tree we want to plant today, for tomorrow, should have been planted yesterday.”
In the winter planting season of 2021/2022, Nicholsons Forestry department and its contractors planted approximately 382,000 bare root trees across 88 sites. This how-to guide offers some of the best practice employed by Nicholson’s Forestry Operatives.
When to plant?
Bare root trees should be planted when dormant. They should have dropped all of their leaves and need to be in the ground before bud break. Climate change has created challenges for the best time to plant trees. The planting season runs from December through to the end of March, with cold damp weather being the best climatic condition to plant trees effectively. The month they are planted during this window does not really matter; it is the prevailing weather conditions that are paramount.

Pre-planting
Before you begin, you need to have made decisions on tree species and tree spacing. Species selection should be guided by the local site conditions (soil type and condition, wind exposure, hydrology), future climate predictions and woodland objectives. Nicholsons Plant Centre has a range of bare root trees available, and a wealth of expertise in its Forestry Department who can guide you through the necessary and all-important planning process.
The spacing between the trees will depend on what you want the trees for, as well as how you plan on helping them to establish. Normally, bare root trees for woodland are planted with somewhere between 2 metre and 3 metre spacings. If you’re planting a thin hedge, then use spacings of around 30cm. If you’re planting a thicker hedge with 2 rows, then you want a spacing of 50cm between trees, 40cm-50cm between rows, with an alternating pattern.
Some advance site preparation may be required such as de-compacting the soil, or controlling local vegetation that will compete with the trees. Fencing out browsing mammals such as rabbits and deer may also be necessary.
If you are storing the bare root saplings ahead of planting, they need to be protected from the elements and any extremes of temperature. Don’t let the roots dry out or freeze. As a minimum, you should secure a bag around the roots to prevent evaporation. You can also dig a shallow trench and temporarily cover the roots with loose soil (known as ‘heeling in’).
Do not plant when there is ice or snow on the ground, the ground is waterlogged, or there is a strong wind which will dry out the roots. Ideally, you should soak the roots in water for 30 minutes prior to planting. Mycorrhizal inoculation is also an option, especially if you’re planting on a site where additives are required to aid establishment.

How to plant
There will be a visible root collar on the sapling from where they have been grown in the nursery. The sapling must be planted with this level to the surface of the soil. If the root collar is buried, there is a risk the sapling may rot, become diseased, or sap will be prevented from reaching the stems. If the root collar is protruding above the ground, the roots may be exposed, leaving the sapling vulnerable to drying out.
Single slit. This is a quick method, requiring a single spade cut into the soil. The spade is moved backwards and forwards to create an opening. The sapling roots are gently inserted in a downward sweeping motion, with a final upward tug to straighten the roots. The spade is removed, and the slit around the base of the tree heeled in.
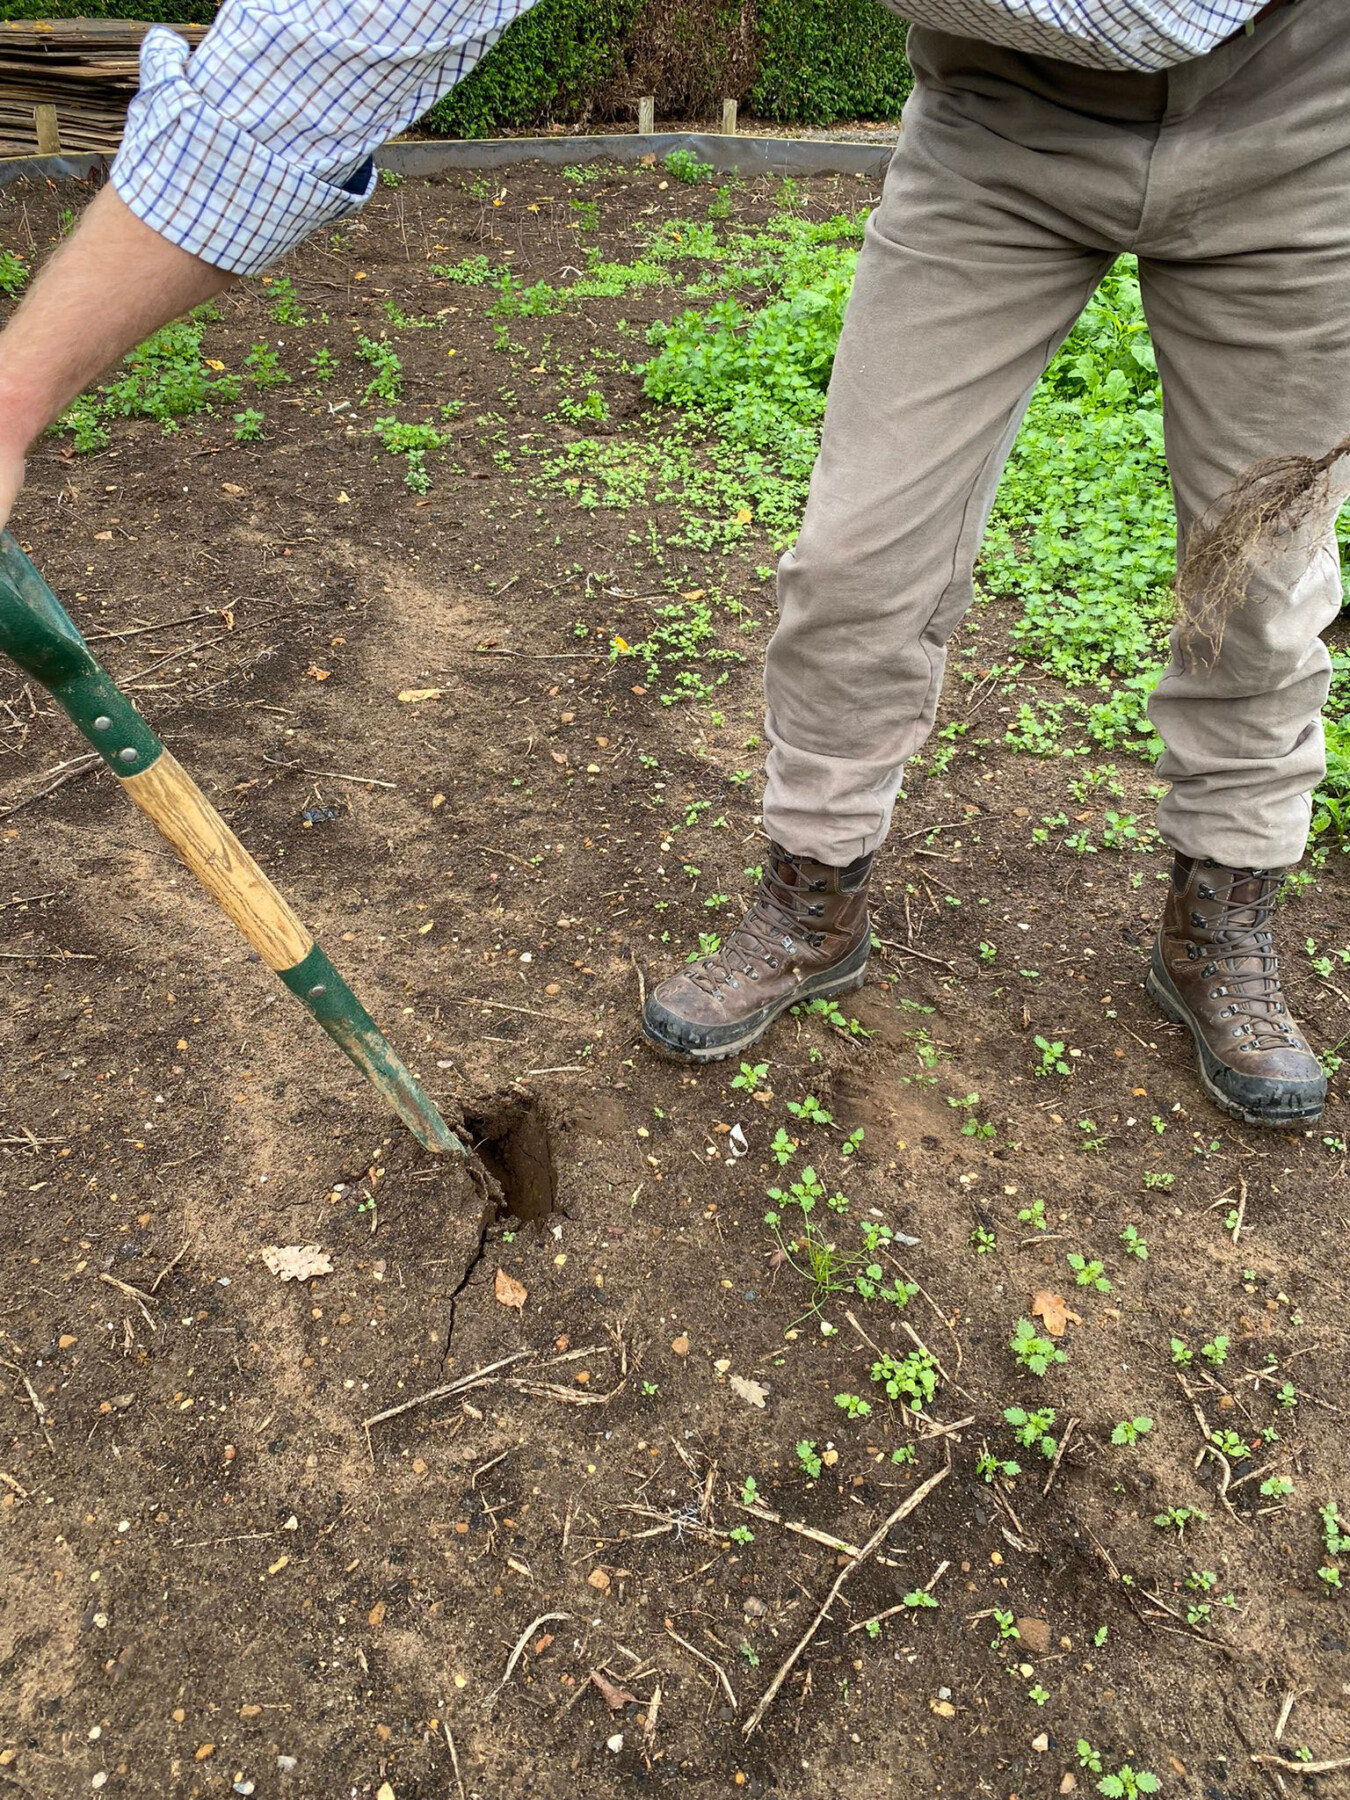
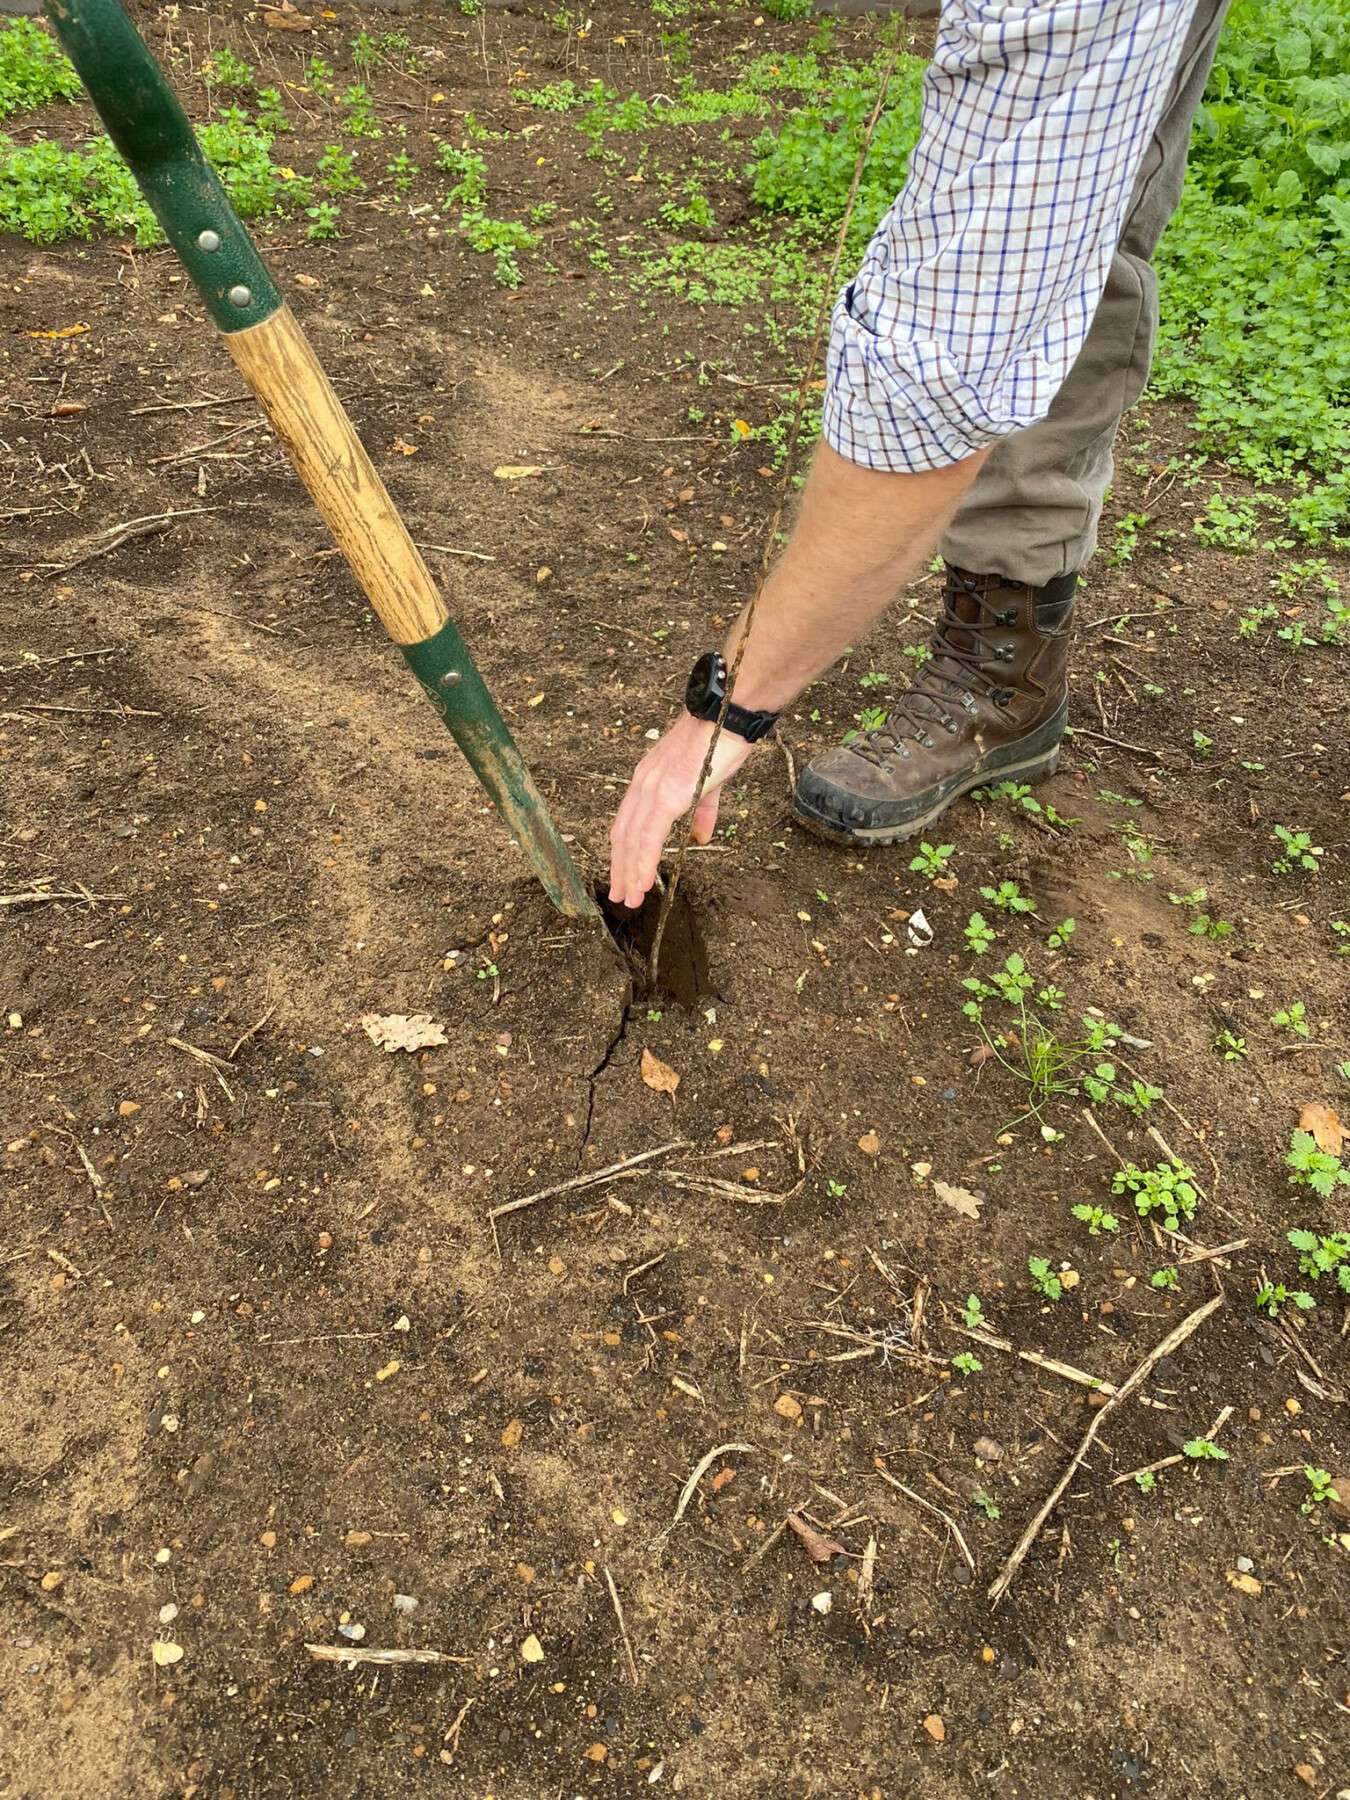
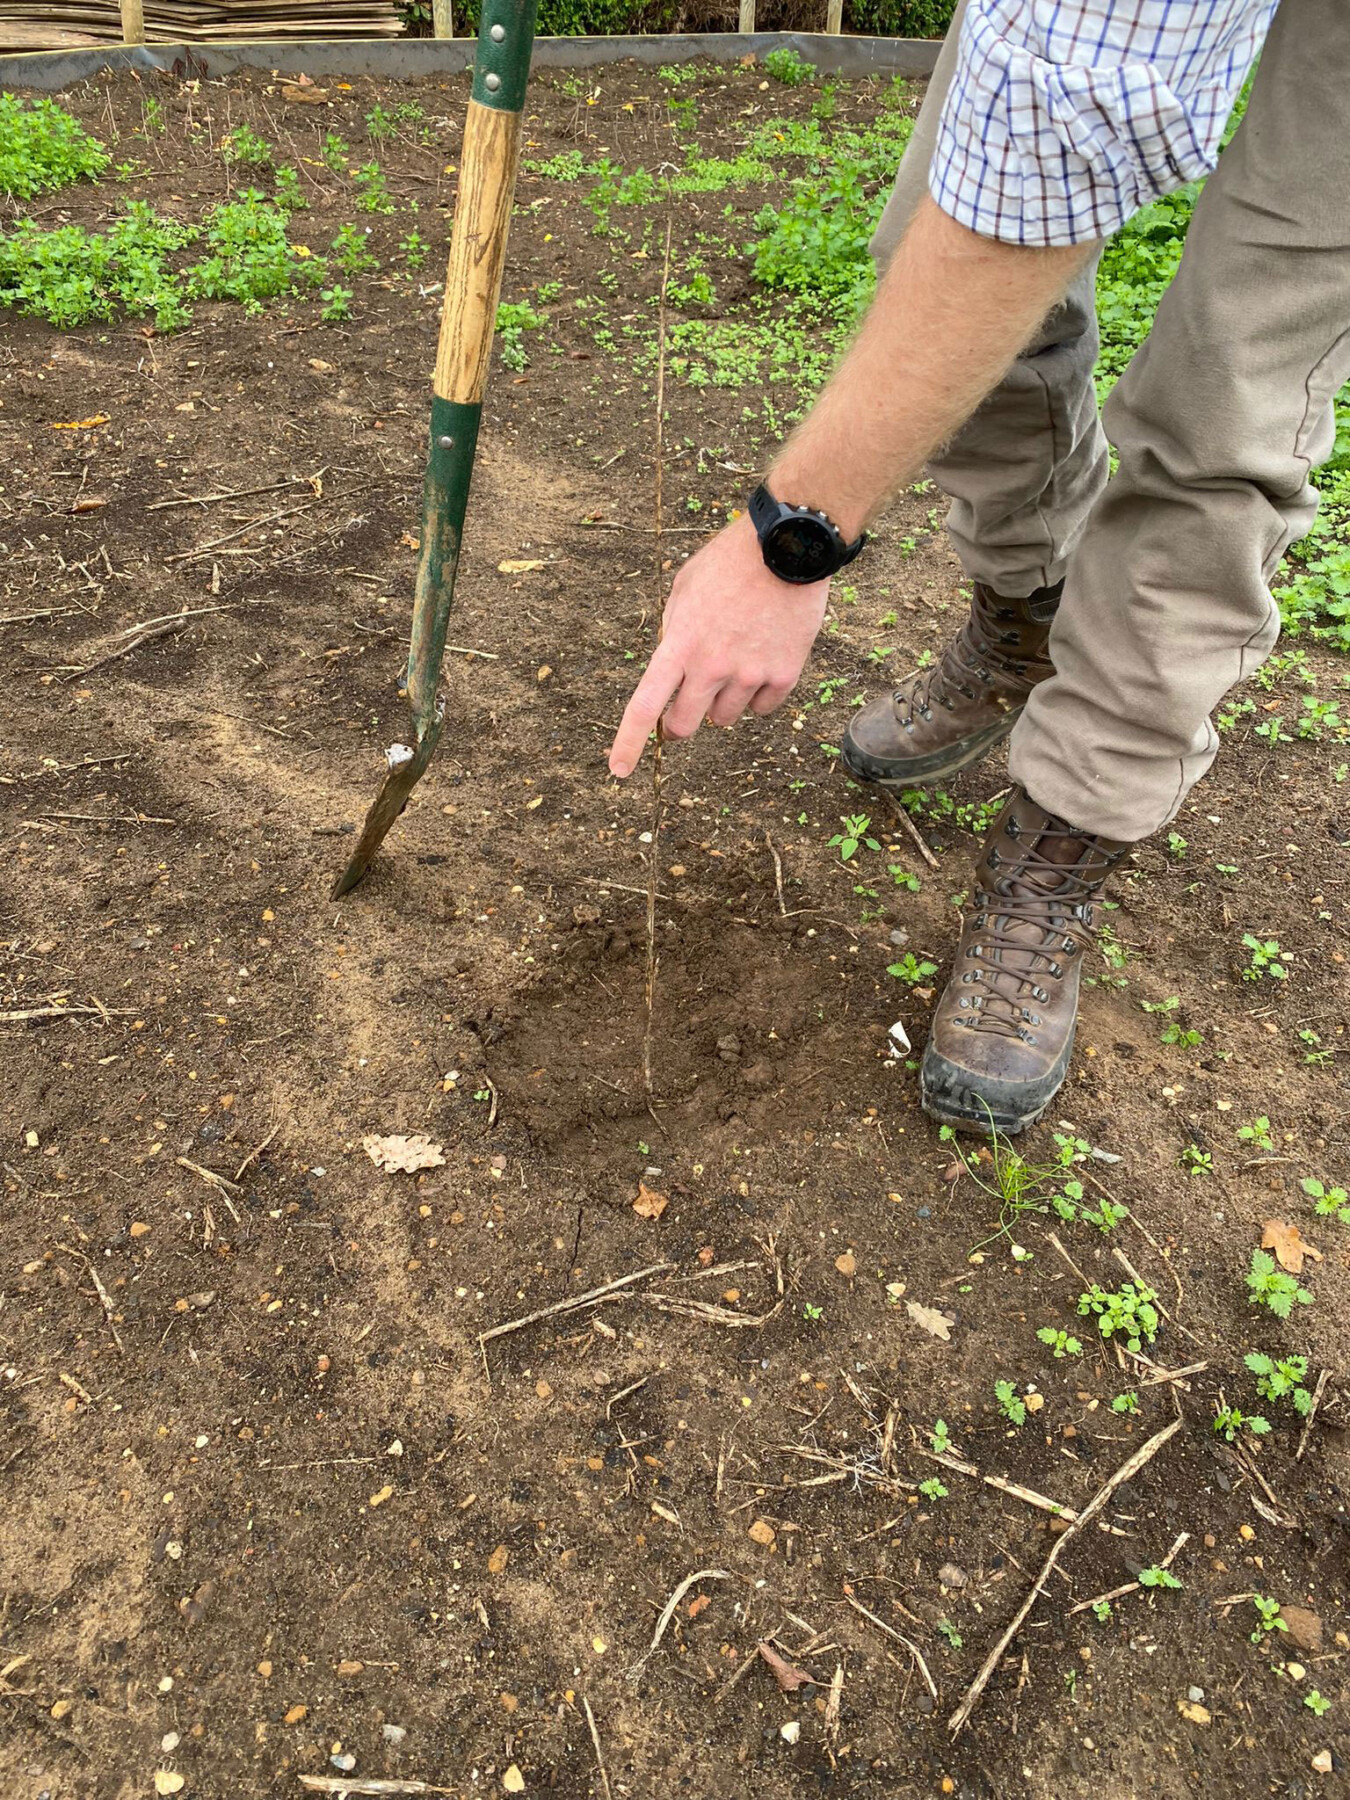
T notch. This is the preferred Nicholsons method, which achieves better soil loosening around the roots. 2 slits are made in the ground, in the shape of a ‘T’. The soil is lifted upwards out of the ground, parting the soil. Holding the sapling by its roots collar, place it into the gap created. Remove the spade, let the soil fall back into place, and then holding the sapling upright, heel in.
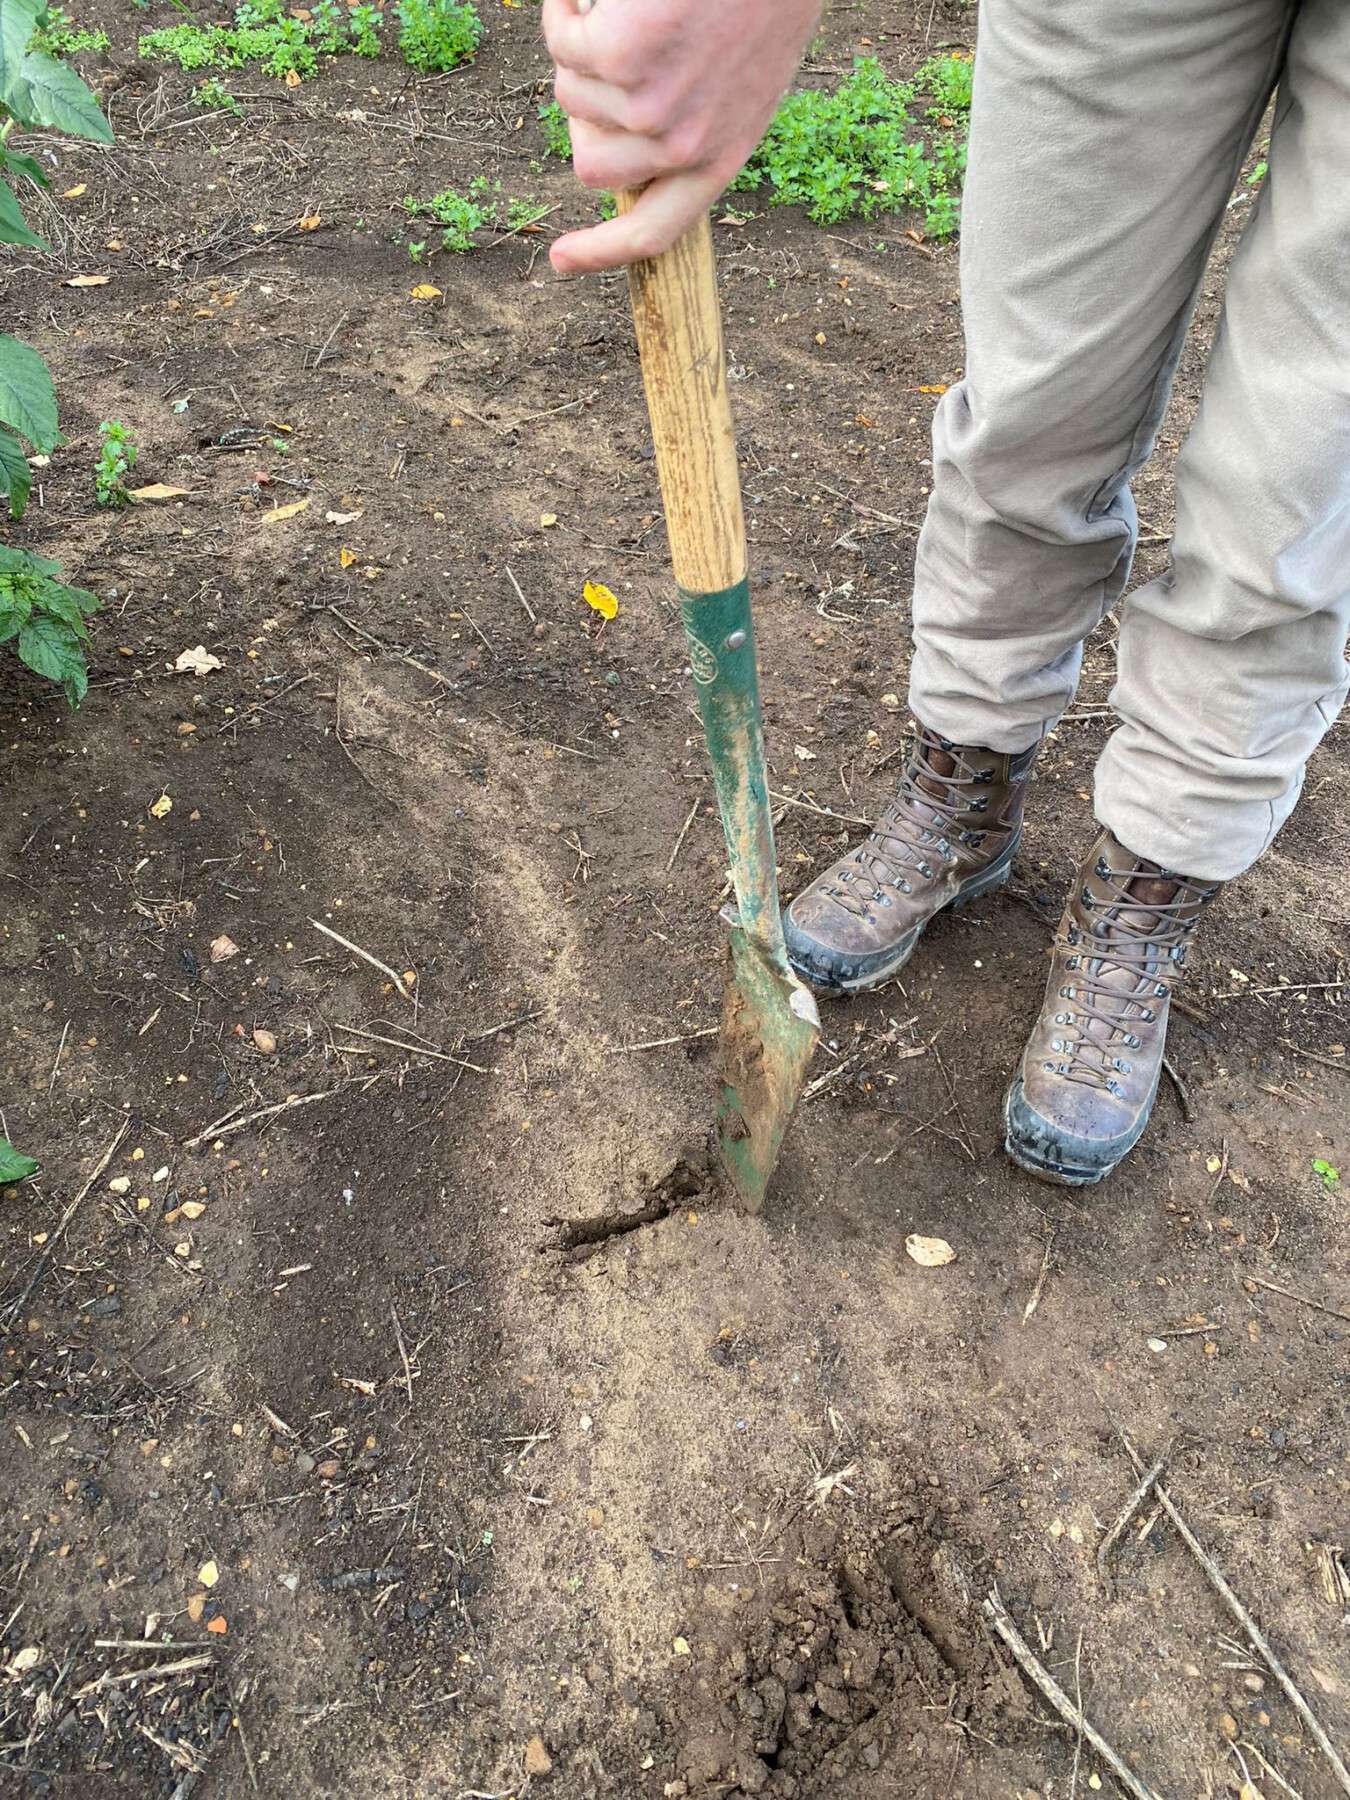
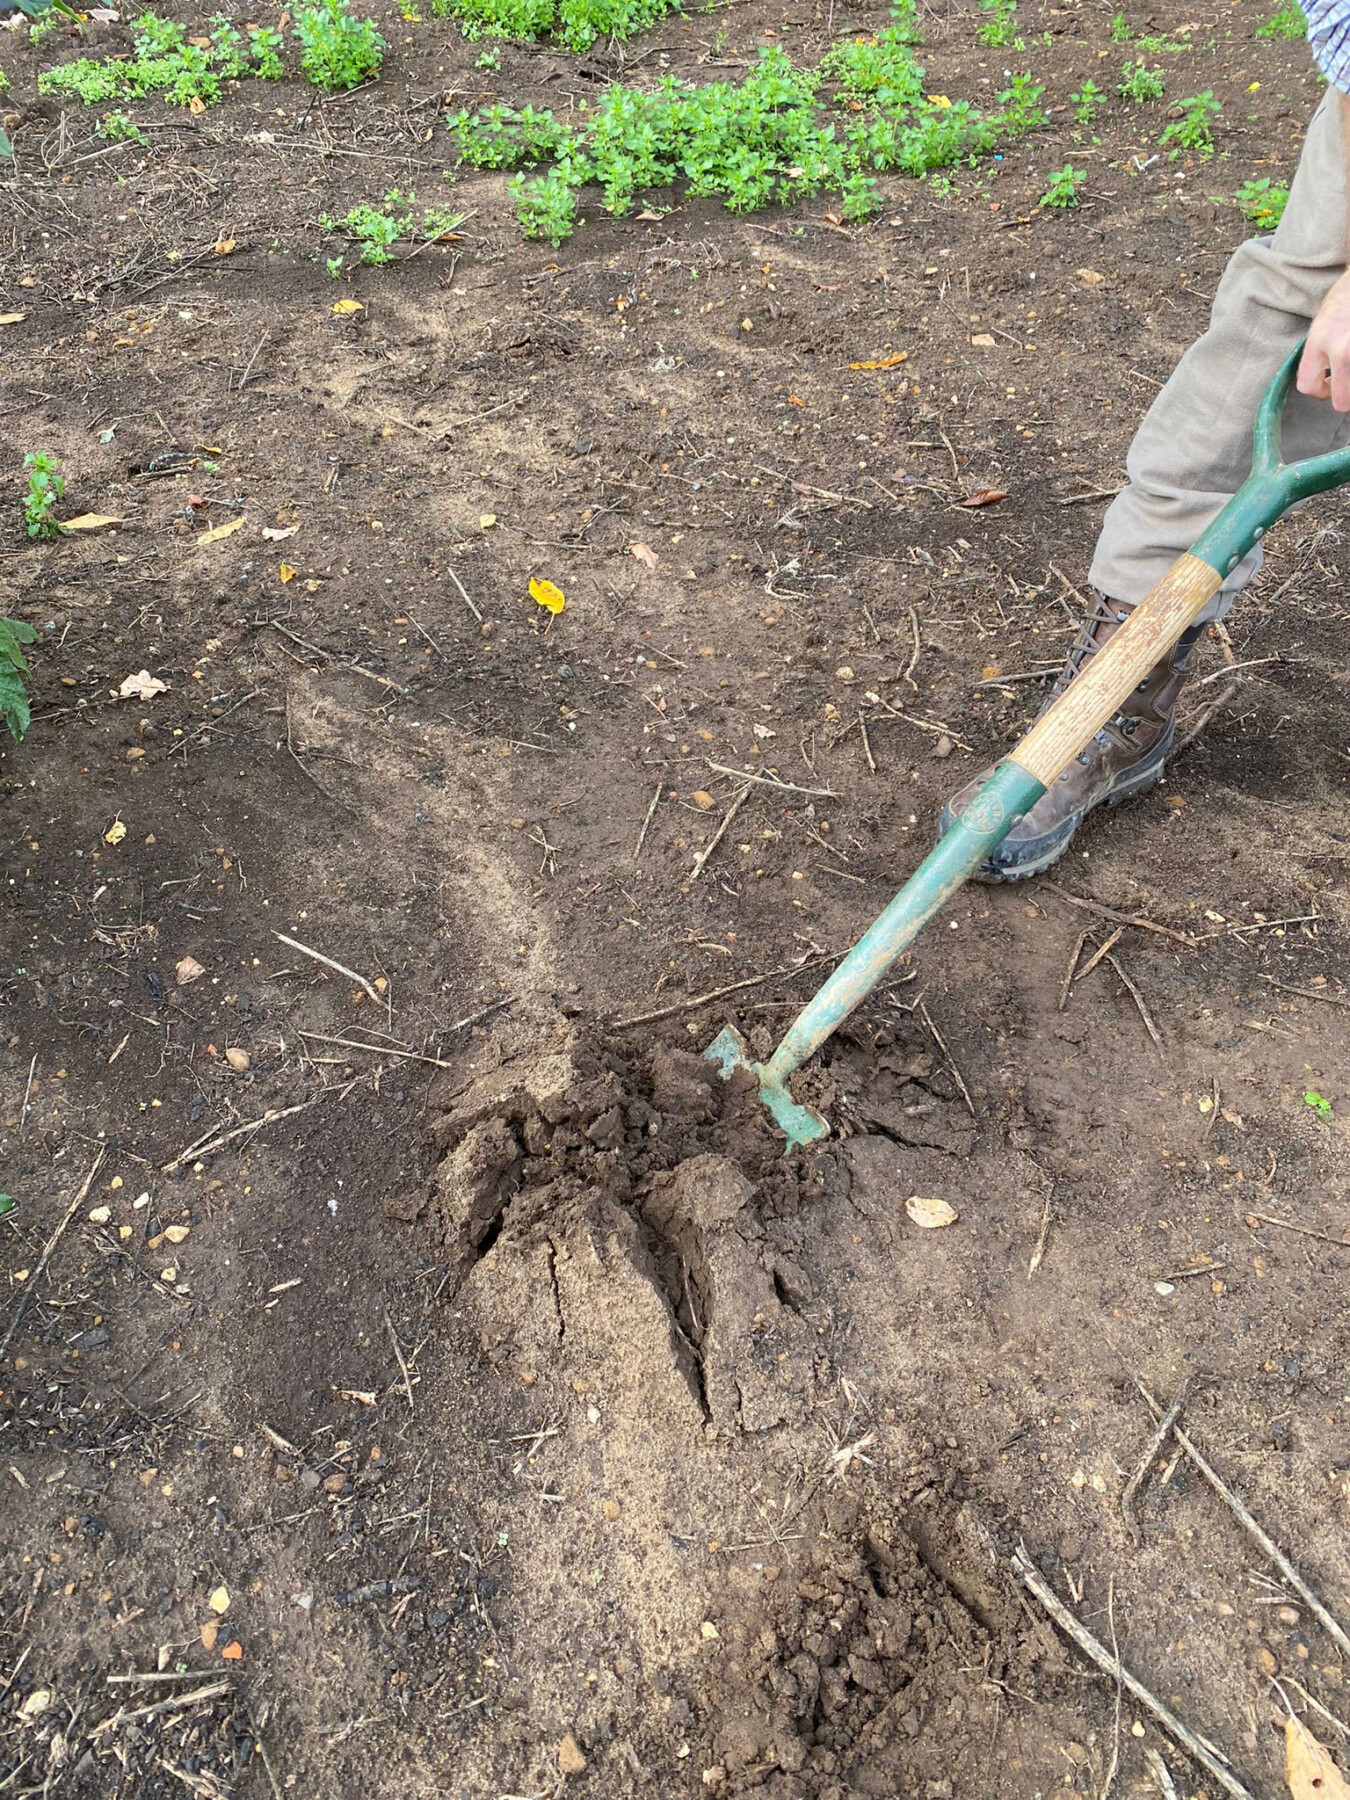
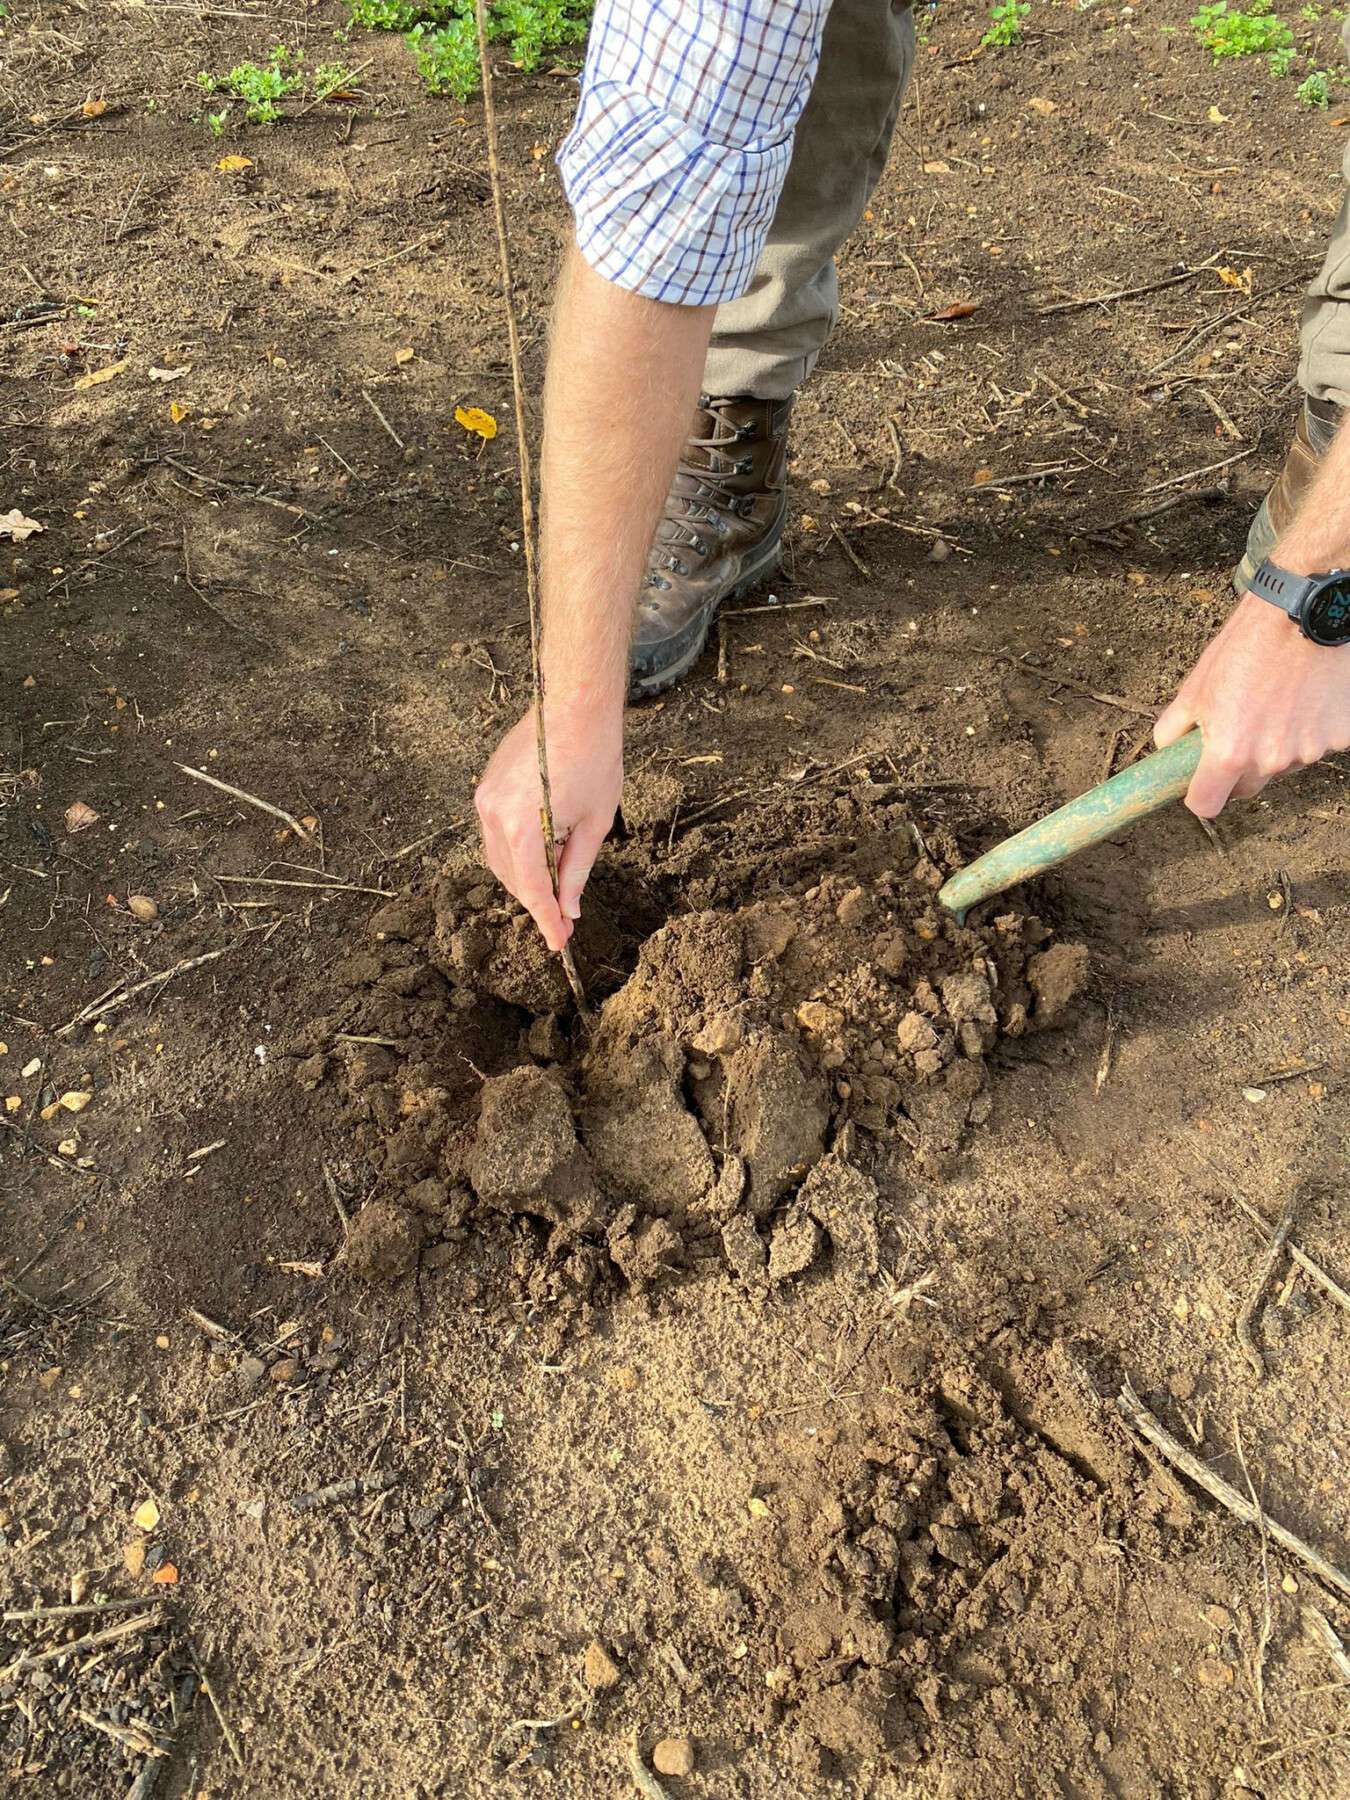
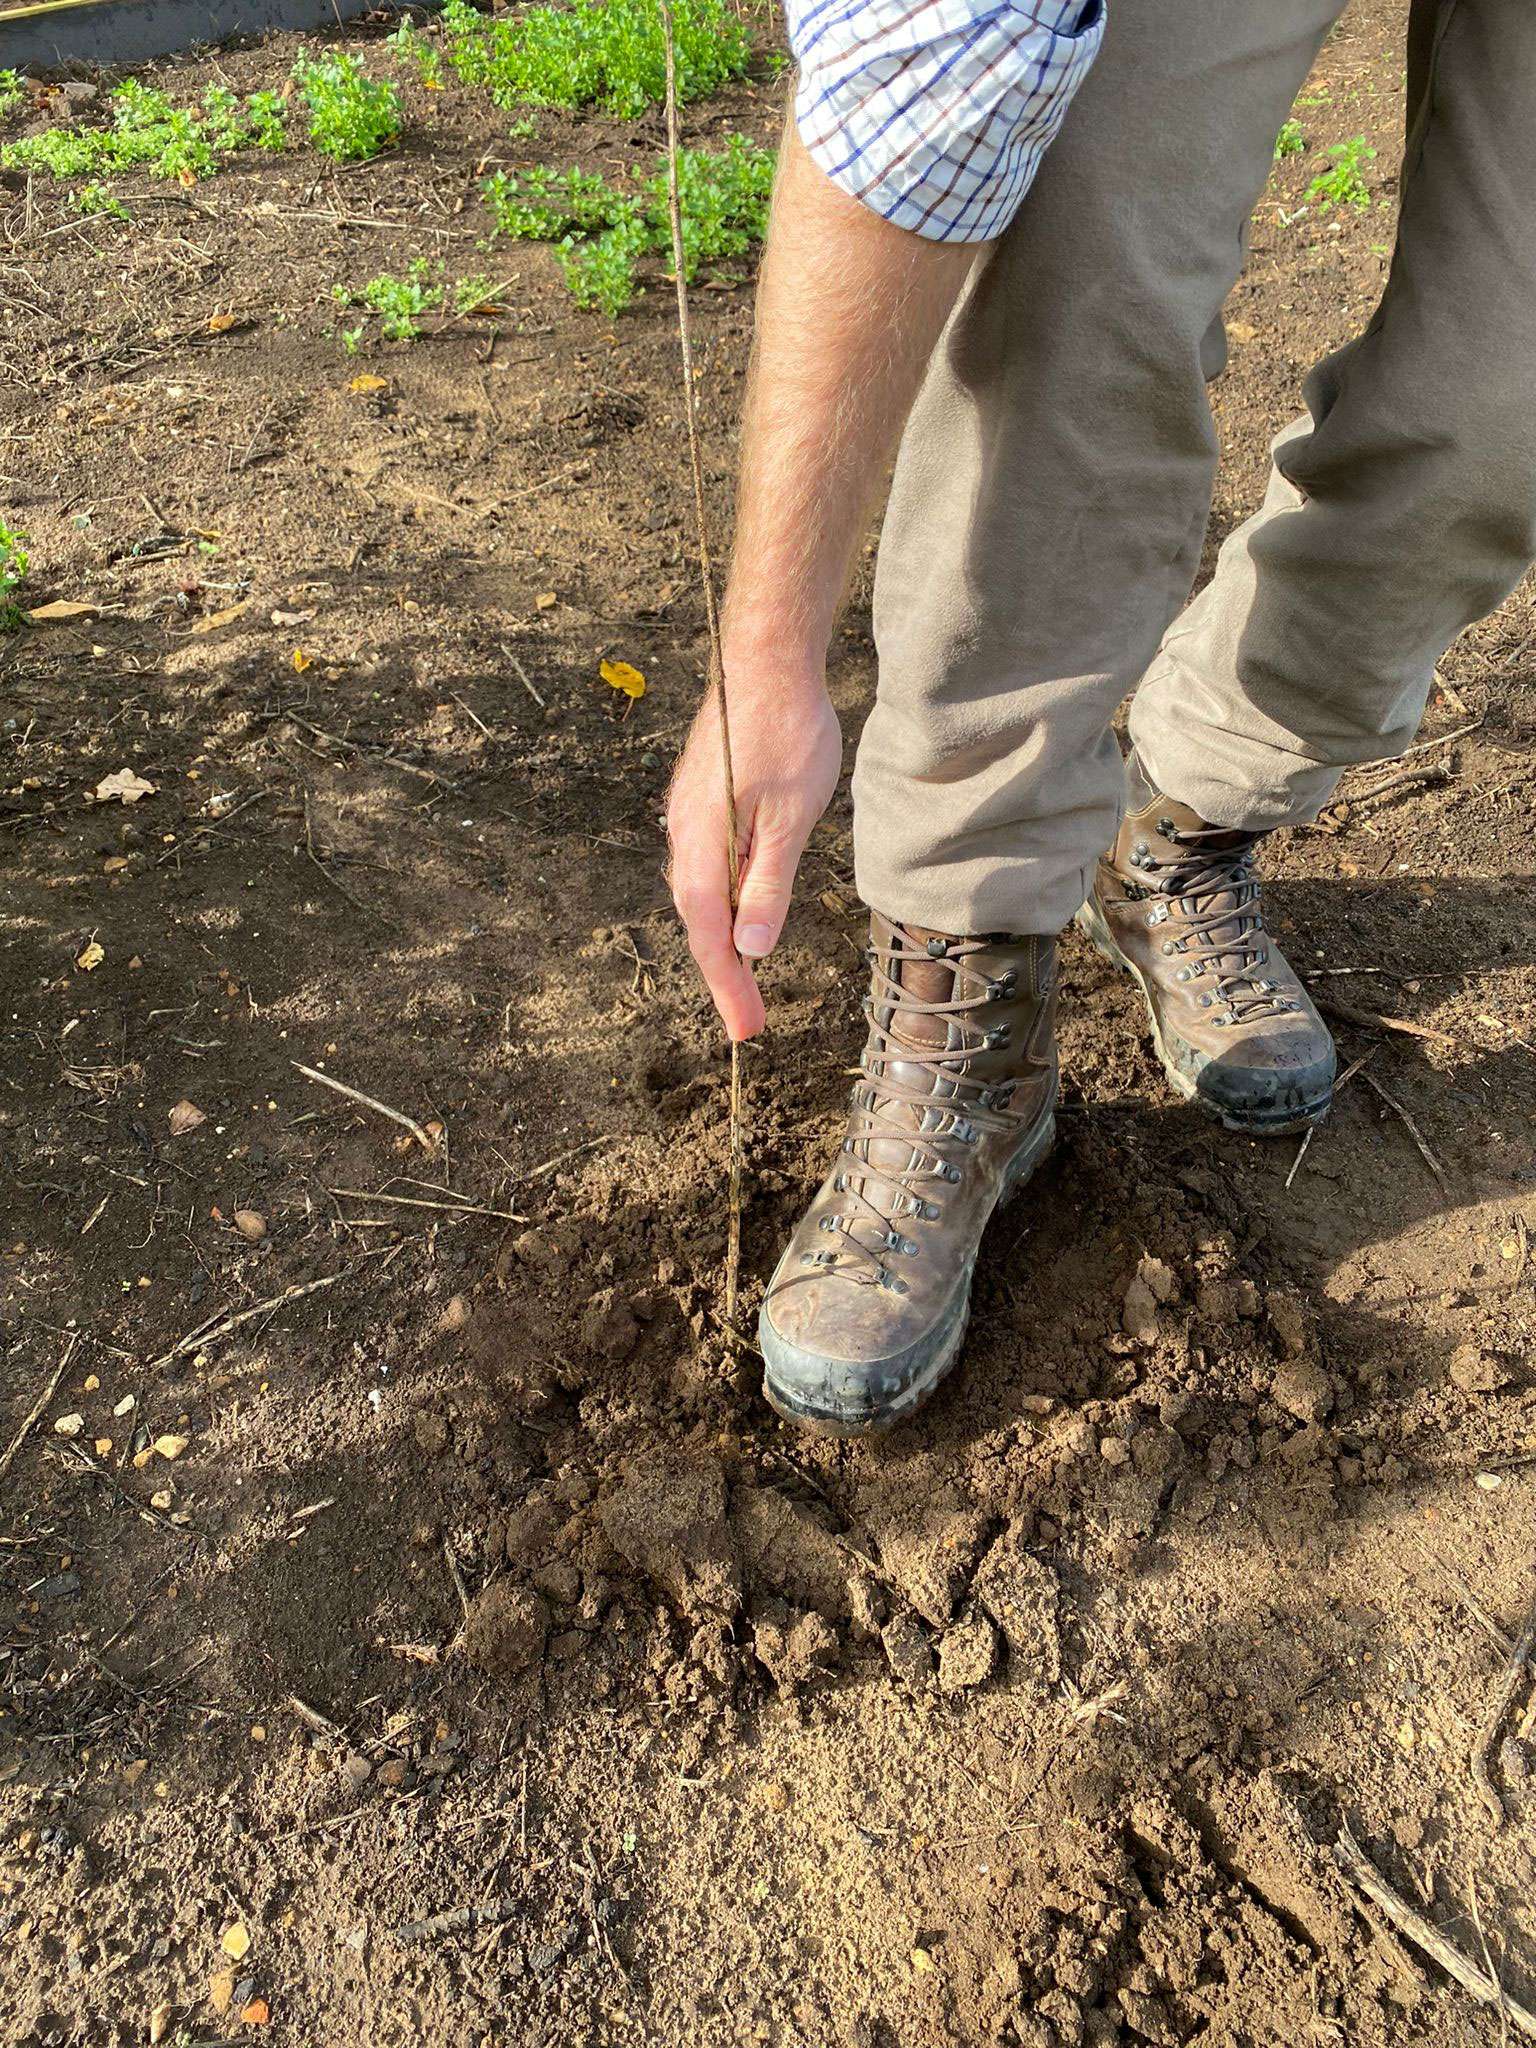
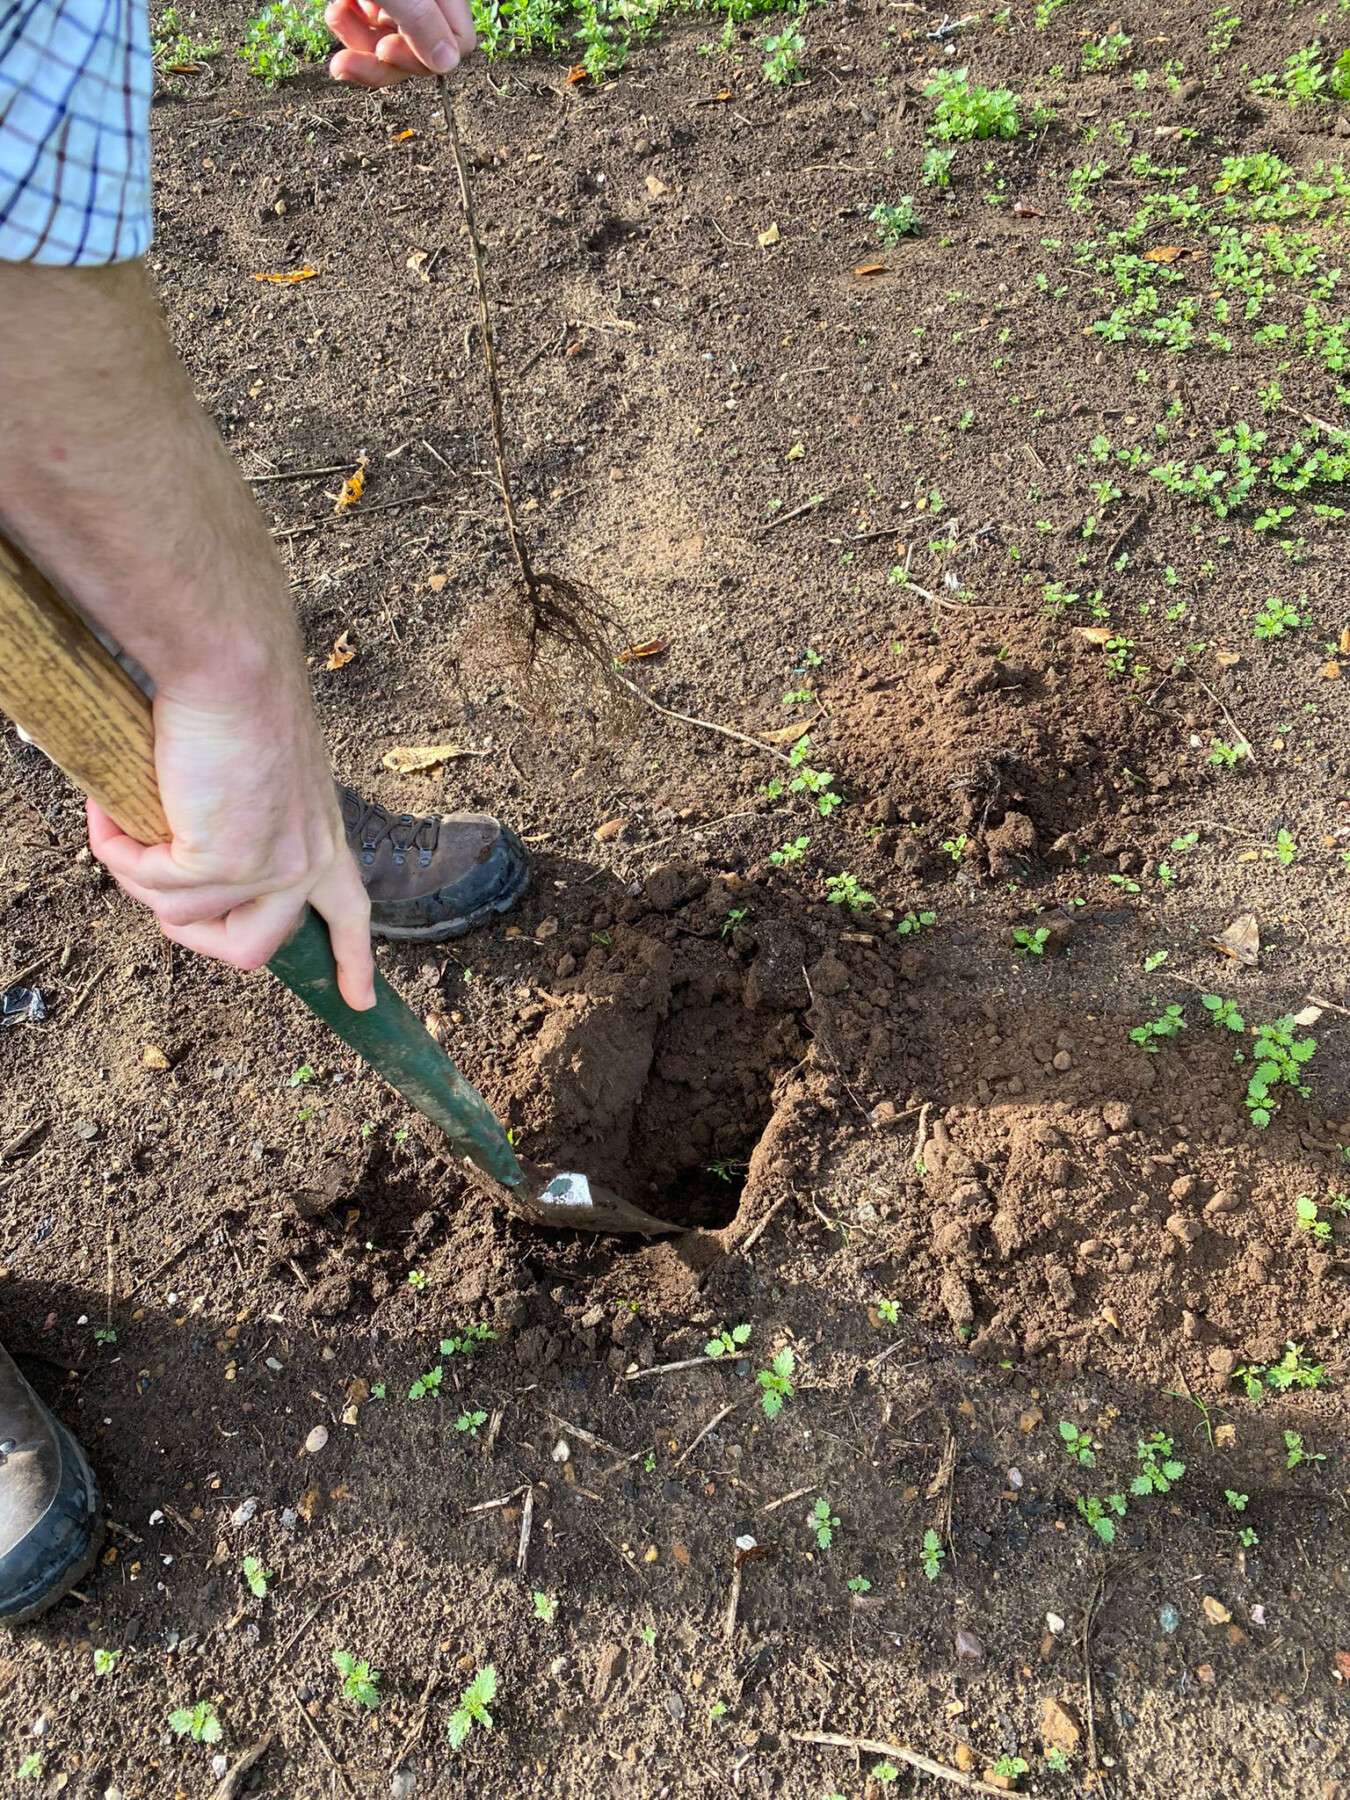
Pit planting. This method is time consuming, and usually employed only for larger saplings with wide roots, or when soil conditions are bad. As the name suggests, dig a pit to the size of the roots. Place the sapling in the pit and spread the roots out. Ensure the soil collar is the correct height, then back-fill with soil and gently heel in.
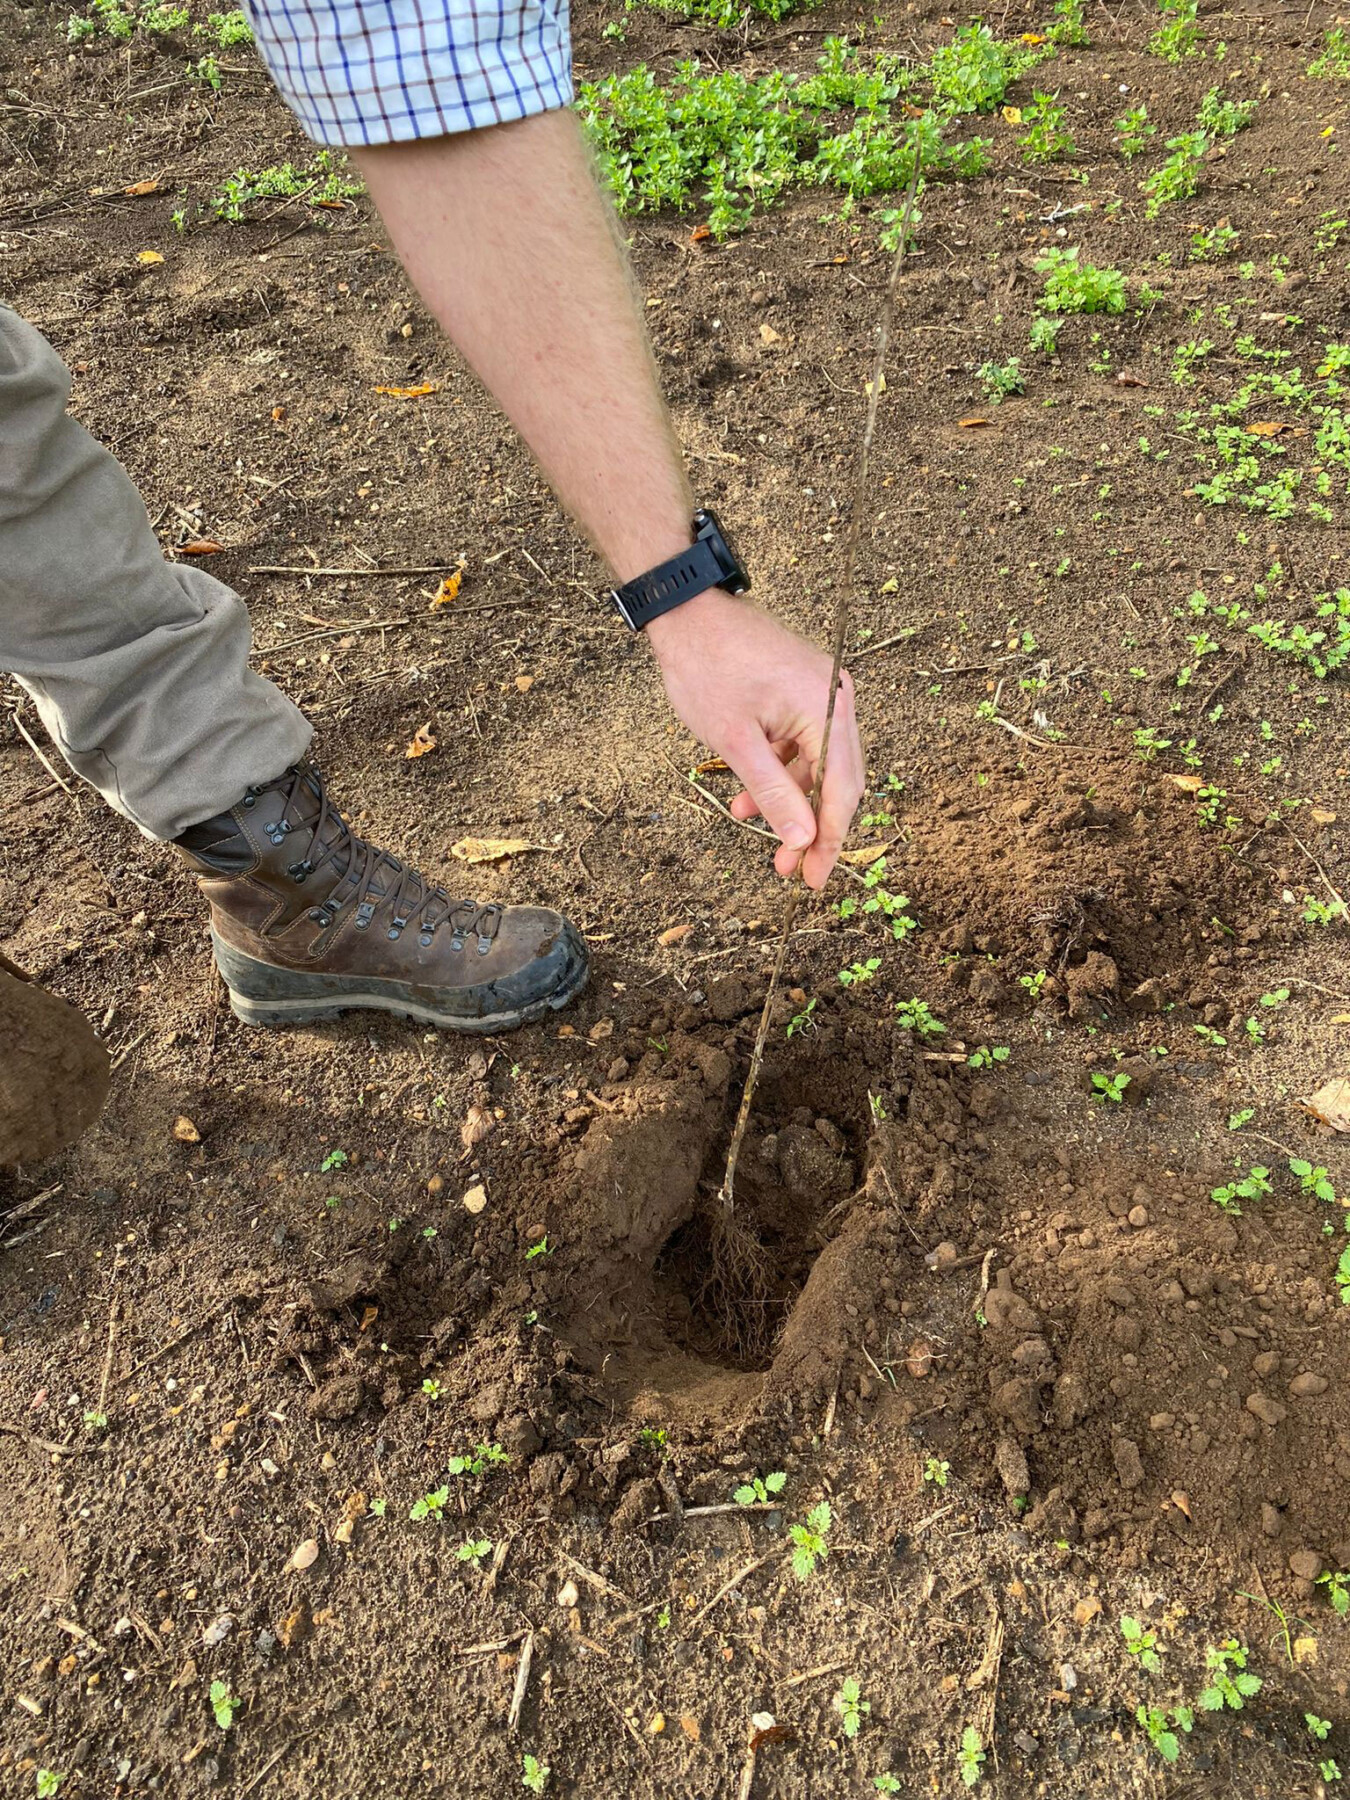
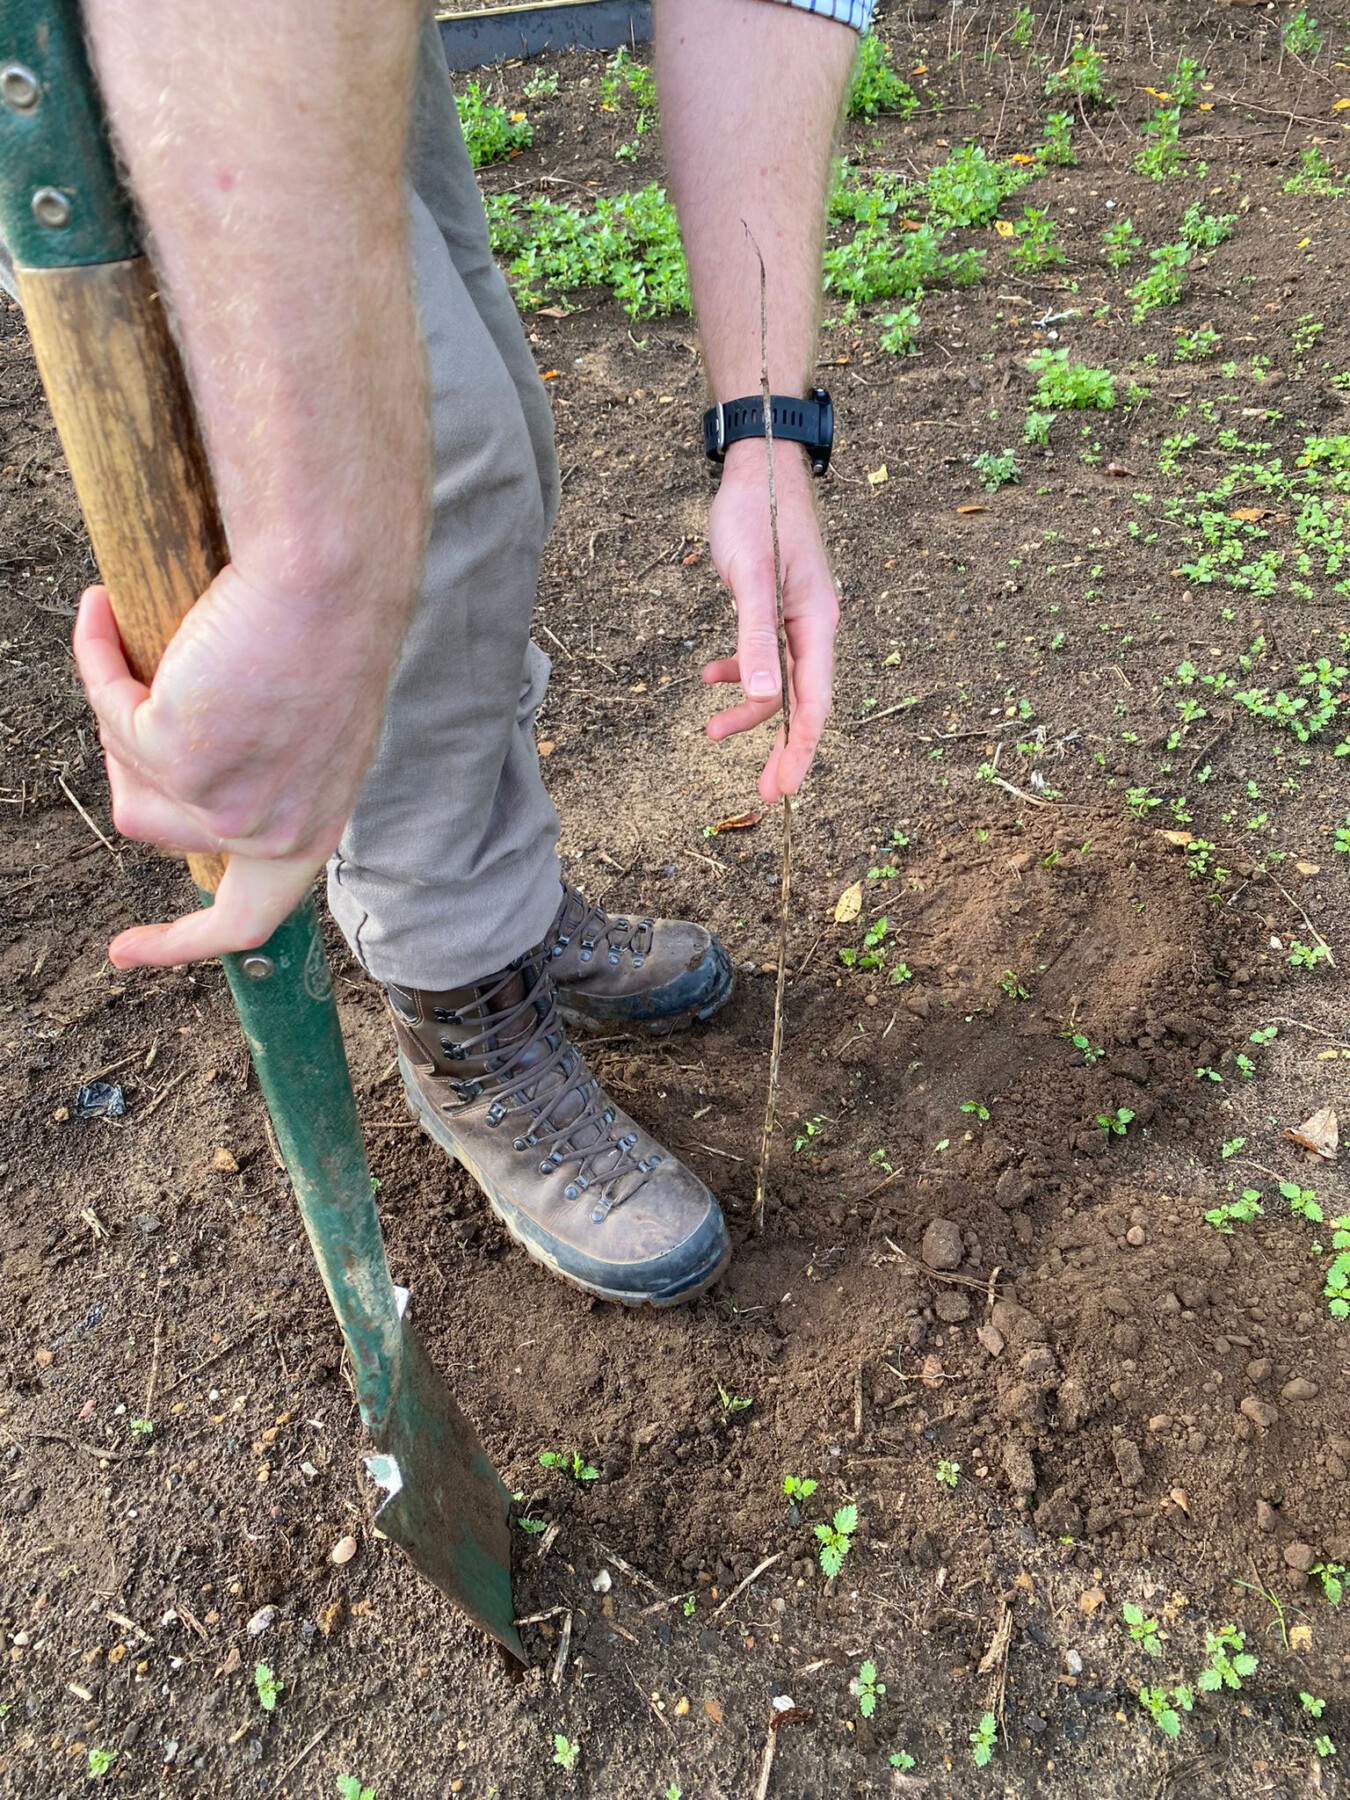
Failure to heel in correctly can lead to the soil opening up around the roots, and sapling mortality. Gently pressing the soil down around the roots prevents air pockets where frost might form; the tree’s roots also need to be in contact with surrounding soil to grow.
Depending on the size of the sapling, you may wish to install a supporting stake. This should be driven into the ground on the side of the prevailing wind and attached to the tree in such a way that it doesn’t rub against it.
Depending on the threat from competing vegetation and tree munching herbivores, you may wish to add canes and spirals, or stakes and tree guards. You may choose to feed, water or mulch around the base. Your newly planted saplings may suffer a degree of “transplant shock”; if the site permits, watering will help with this.
How not to plant
If you’re planting in large quantities, don’t lay the saplings out, as the roots will quickly dry. Instead, only take them out of their bag one at a time, as needed.
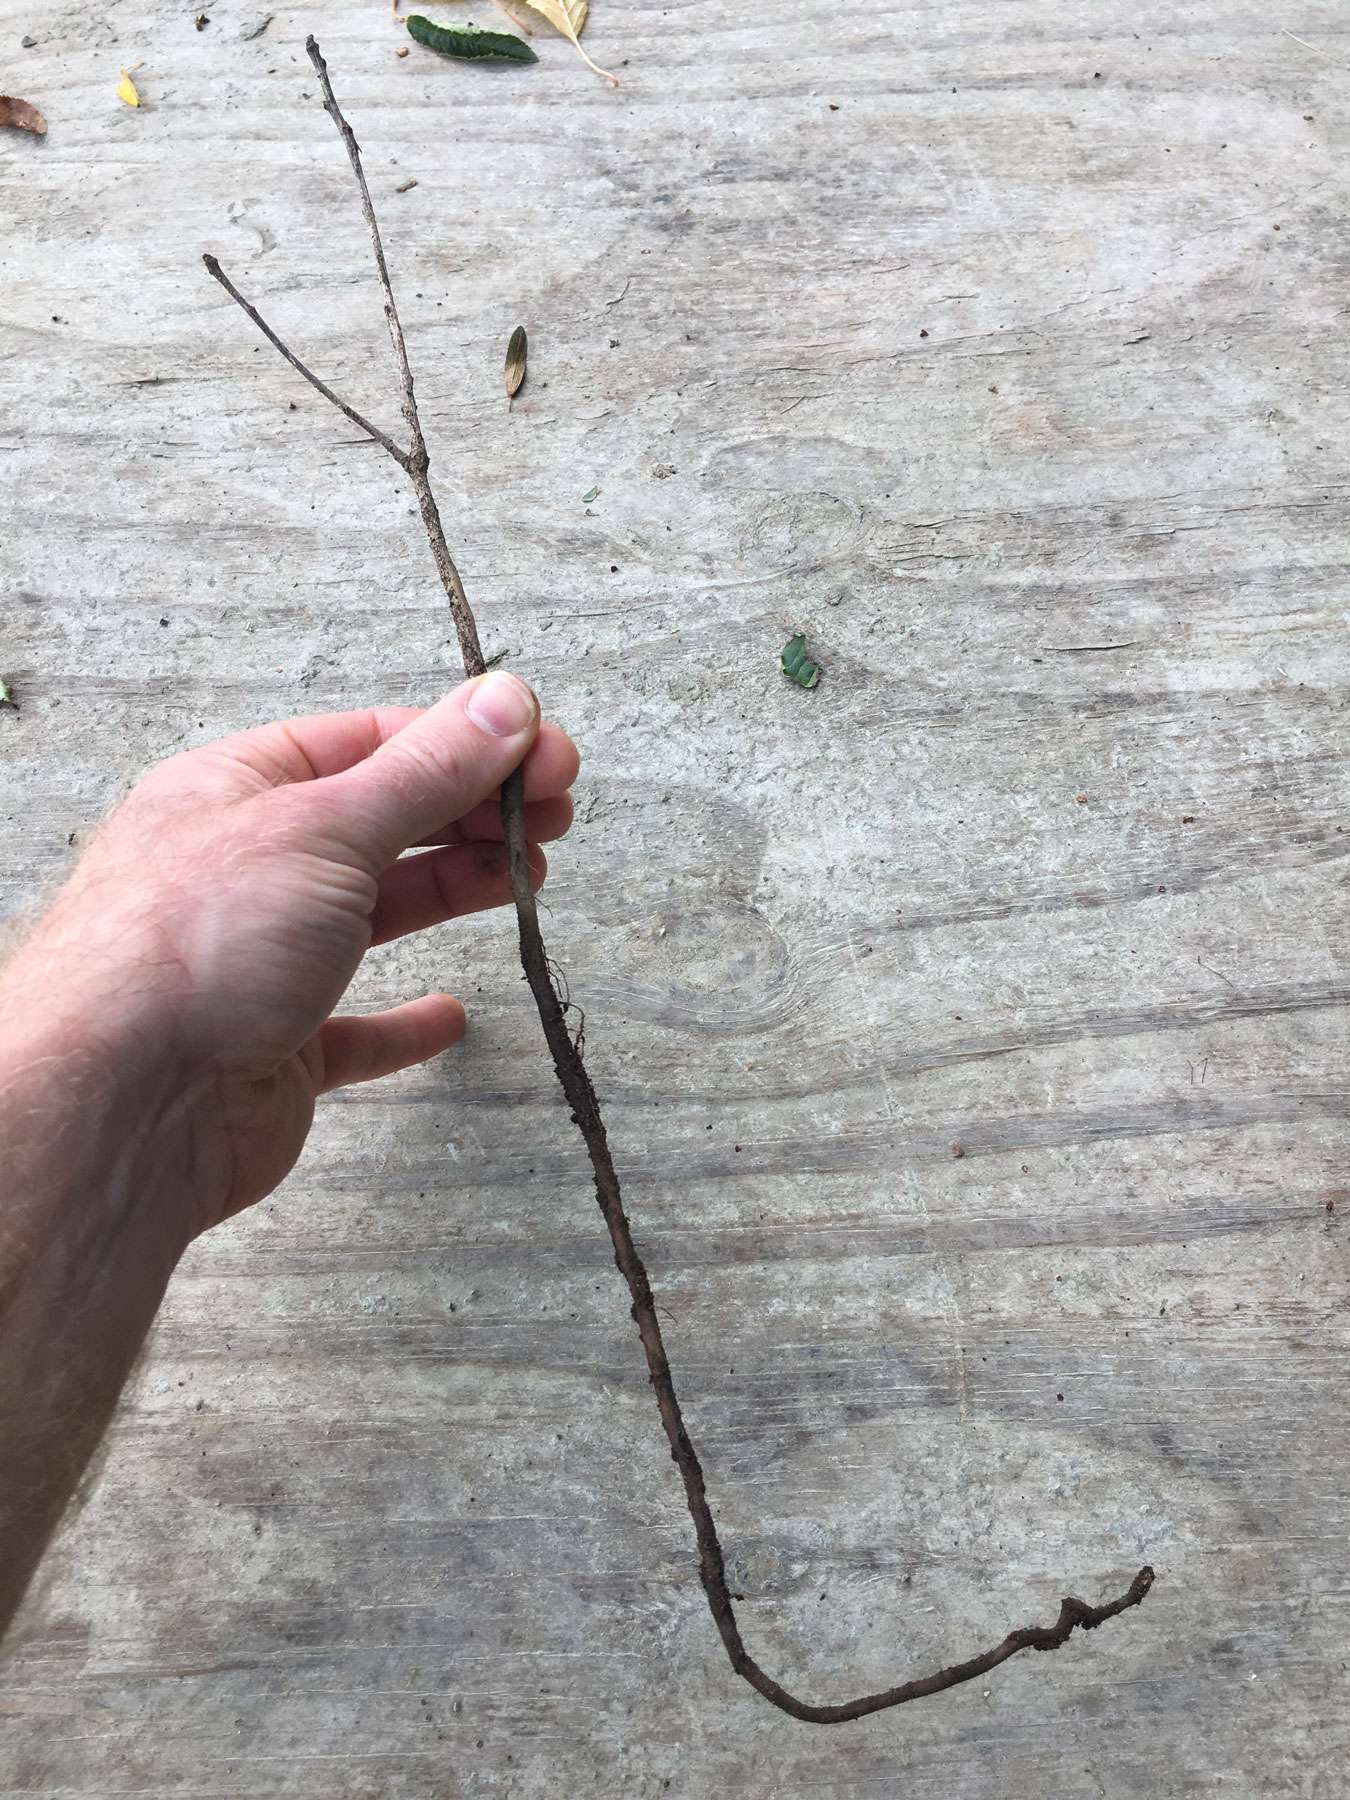
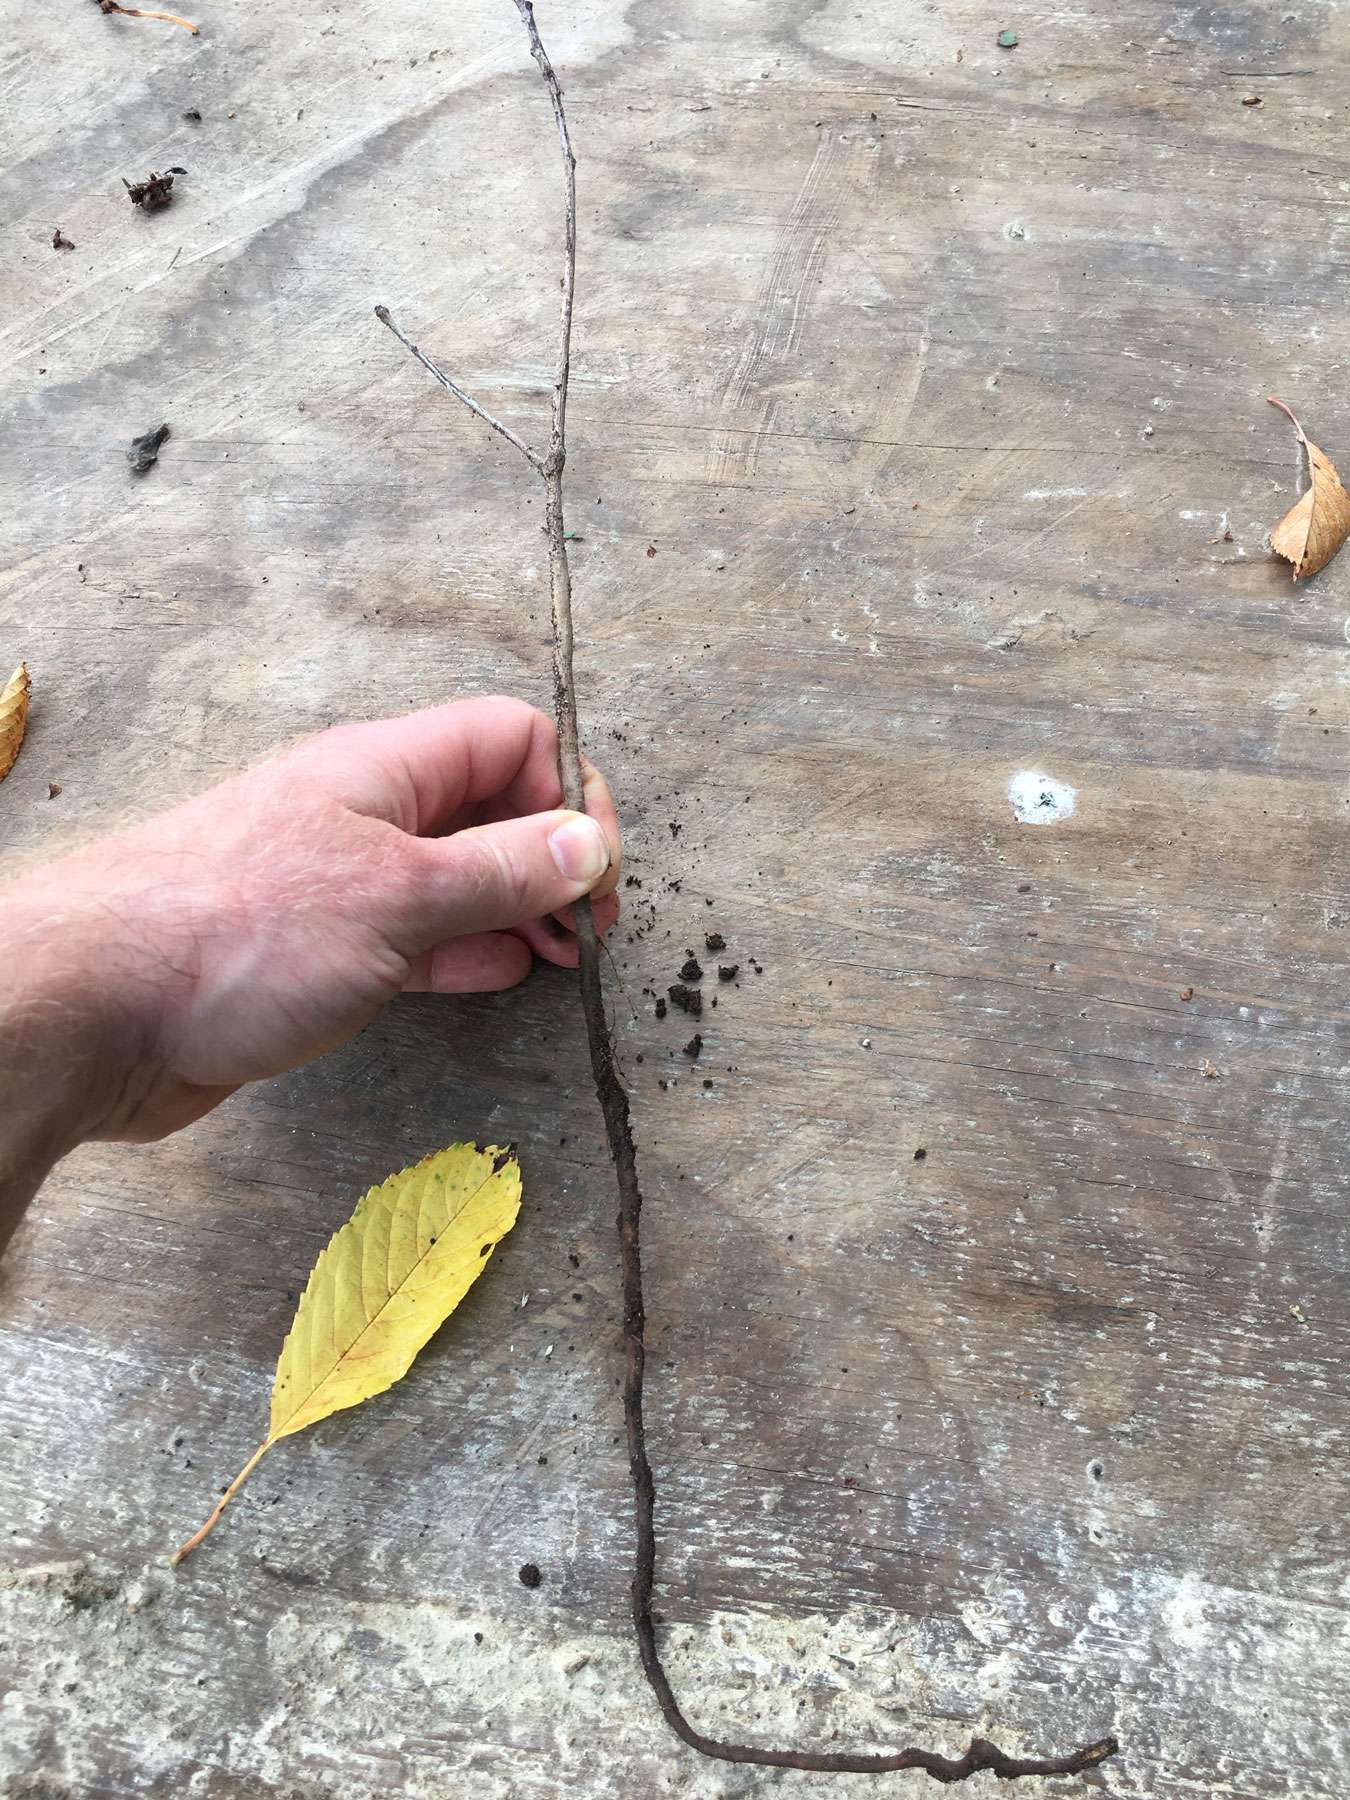
Finally, it’s vital to ensure that the spade slit/hole is the correct size for the sapling’s roots. If the hole isn’t deep enough, and the sapling is forced into position, it can lead to a broken tap root, or a ‘L’ or ‘J’ shaped curve in the roots. This can lead to shallow rooting, vulnerability to windthrow, and a slow establishment.
